After synchronizing the player, it was necessary to set up the various gameplay elements as well as a victory/defeat condition.
Shooting between players
First, we gave players control over their health points. To prevent players from getting frustrated when they see their health points drop without knowing why, due to one of the players having a poor connection, I had an idea: make the player who is hit simulate the shot in their local game.
Here are the step-by-step instructions:
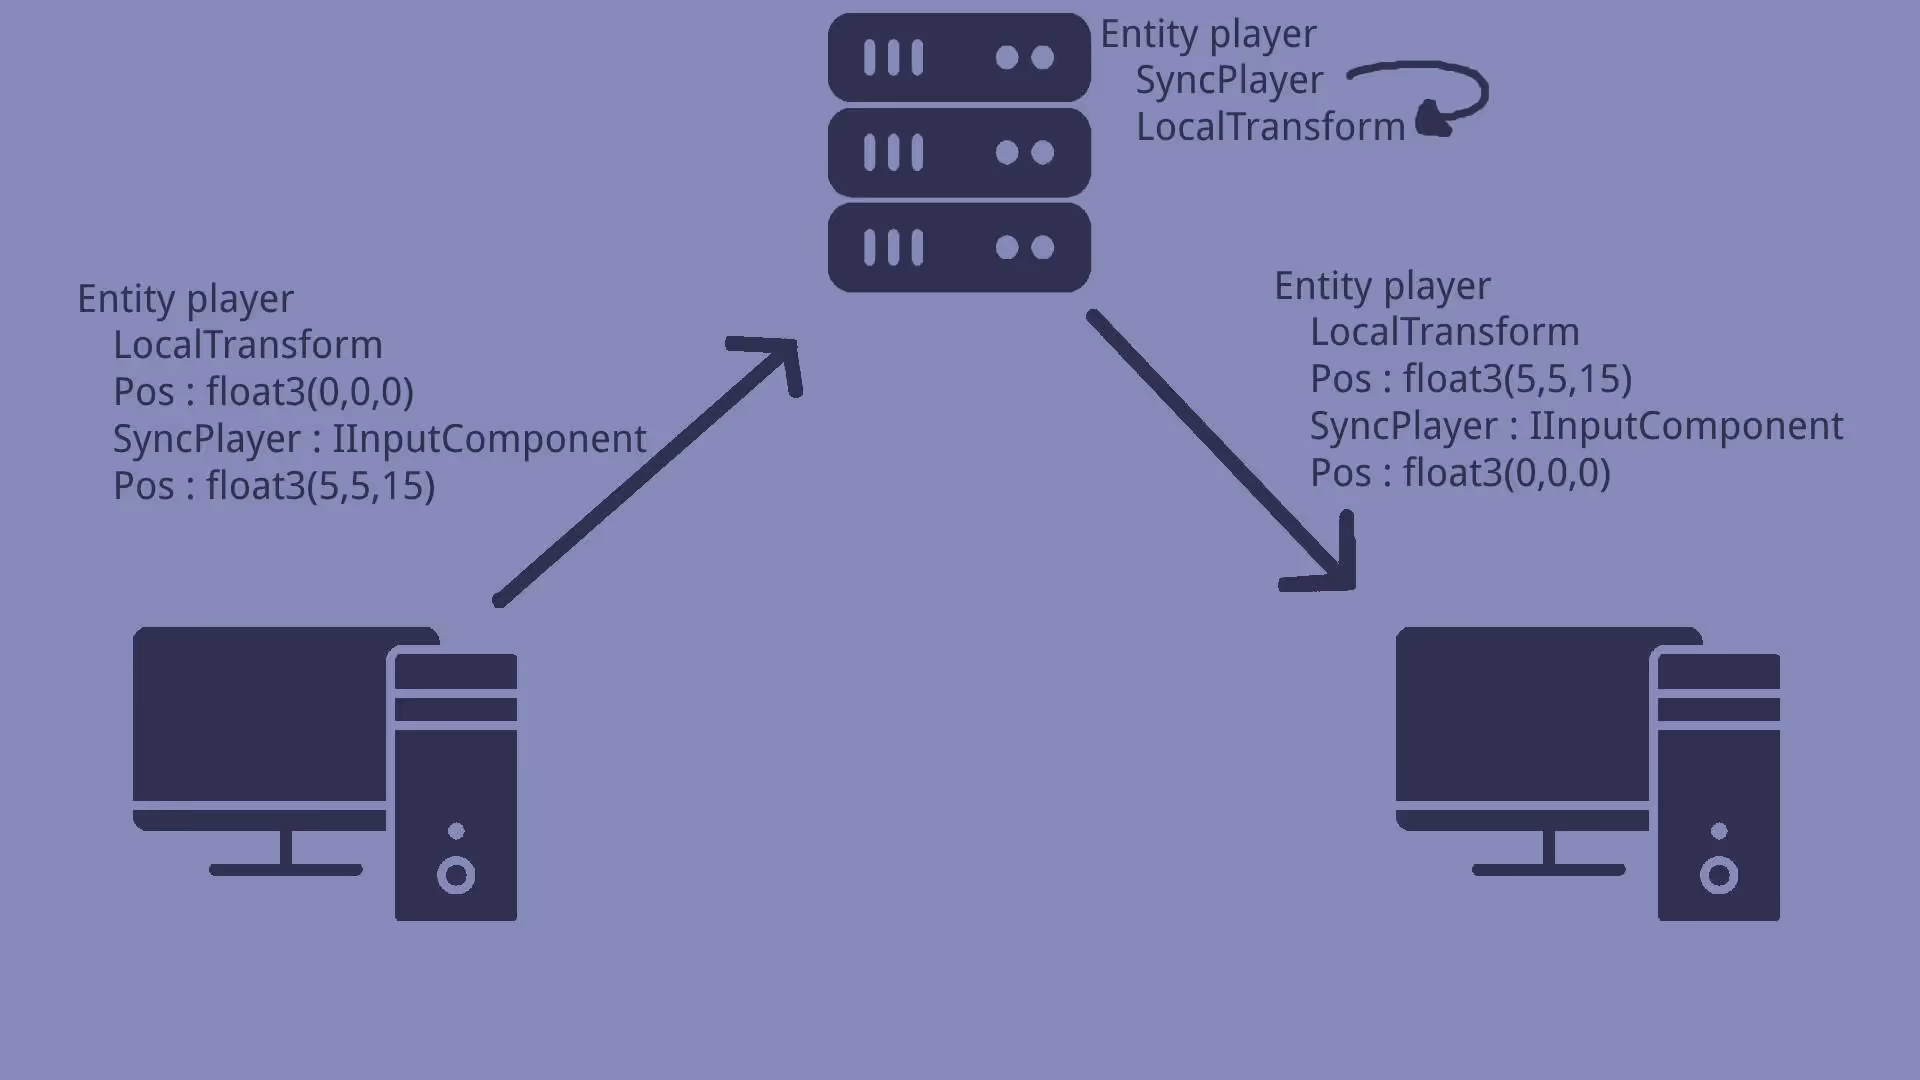
1 - Player A touches player B
2 - Player A transmits Player B's networkID and the shot information (origin and direction) to the server
3 - The server sends the information back to player B who was hit, using the networkID
4 - Player B simulates the shot information with a raycast, and if it hits, it removes health points
When a player drops to 0 health points, the game object that composes them is deactivated, except for the camera. This way, the player can see what happens after their death, and a few seconds later they reappear at their spawn point with all their health points. The entire respawn process is managed locally, which reduces communication with the server.
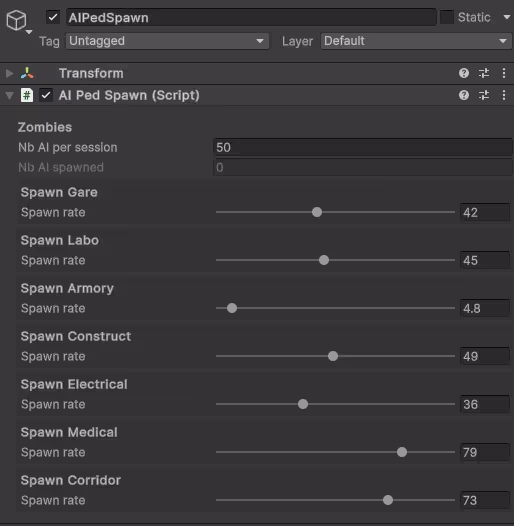
Shooting at mutants
As explained earlier, health points are managed by the server, so when the player shoots a mutant, they send an RPC with a reference to the entity that was hit and a boolean to indicate whether the head was hit. When its health points drop to 0, the entity is destroyed, the monobehaviour detects that it is no longer attached to an entity, the death animation plays, and a disappearance shader is launched.
Objective and victory/defeat conditions
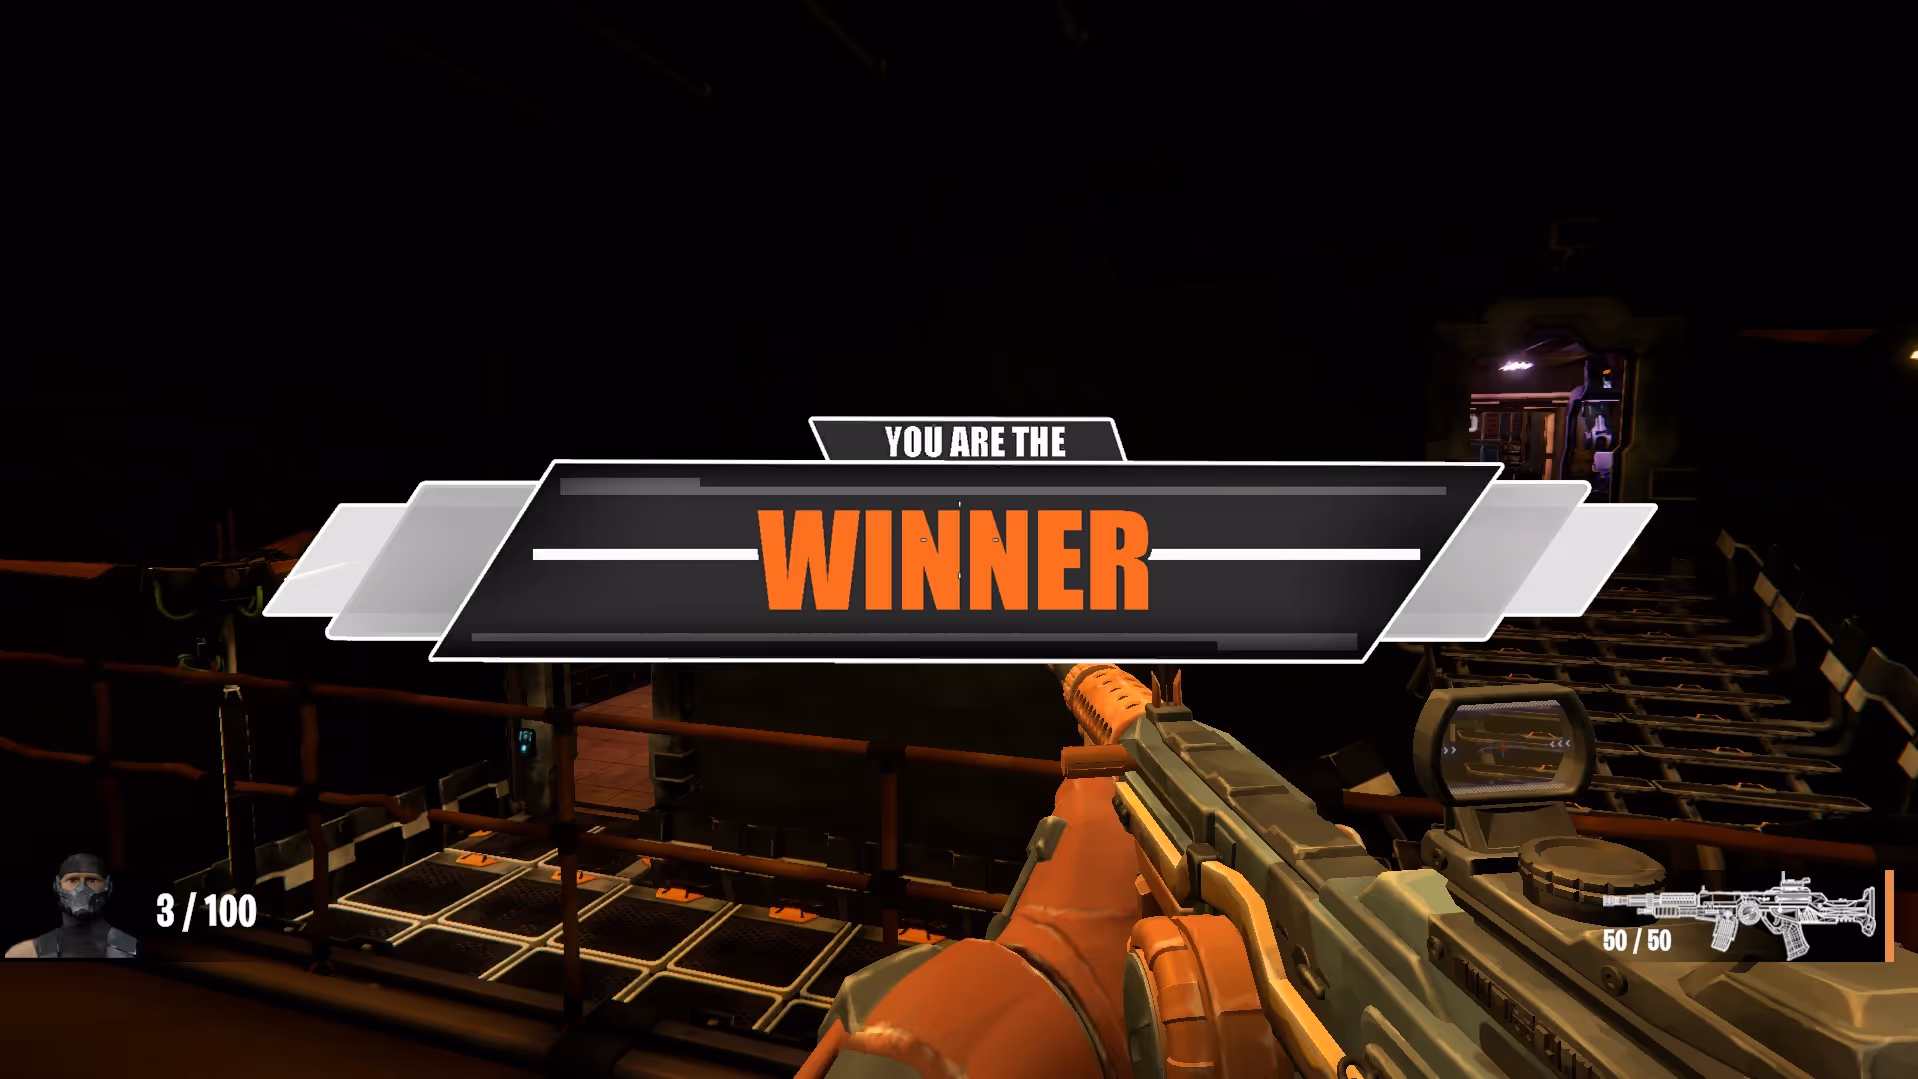
The objective is somewhere on the map. When a player picks it up, the others see it on the back of the player model and see an icon on the HUD showing them where they need to take the objective (or defend it if the enemy picks it up). All the mutants on the map then become enraged, they are no longer in standby mode and only target the objective carrier. When you reach the extraction point with the flag on your back, a victory screen appears and you win (and vice versa).
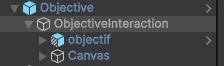
To make the flag visible on the player model, I put it in the player hierarchy, and when it is retrieved, it is activated (and vice versa). So the objective on the map is deactivated when it is retrieved, and its local position is updated when it is reactivated.
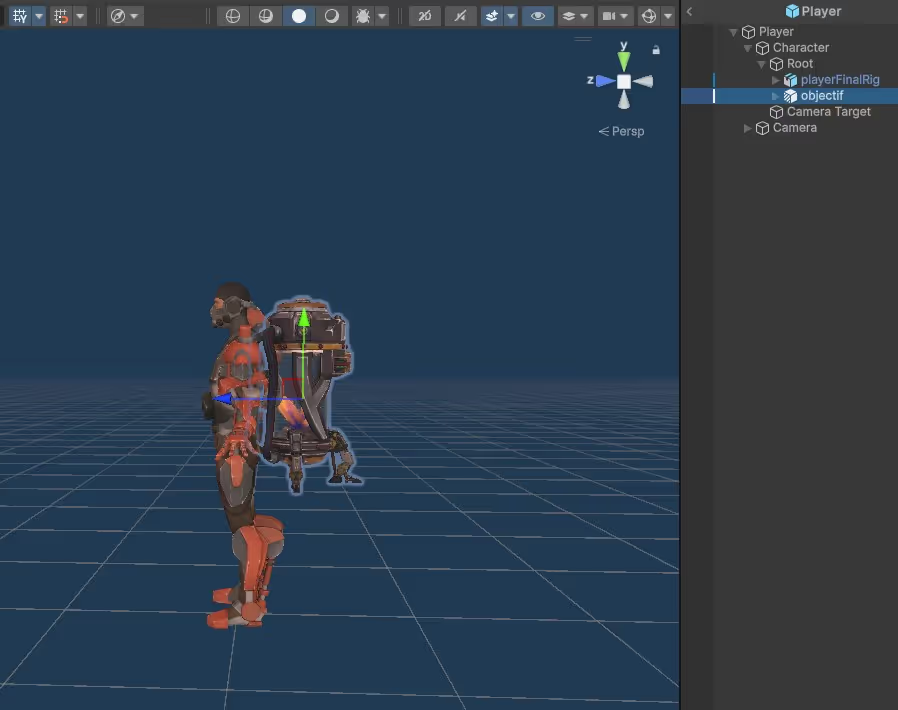
As it was at the beginning of the project, I didn't know what the objective looked like. So I named all the elements of the objective based on a flag (capture the flag).
When the server is created, an entity with only one component named “FlagComponent” will be created. It will act as a singleton. When a player picks up the objective, they send an RPC containing a Boolean value to the server, which checks whether this is a state change (not picked up ⇌ picked up). If so, it updates its data.
The server retrieves the client's networkID, uses it to find the entity containing the player's position, attaches it to the player, and sends an RPC containing the entity to all players. The other players receive the information and activate the objective on the back of the player who picked it up, as well as the HUD. To drop the flag, the same system is used, except that the server returns the position and rotation of the objective as an RPC.
To activate the victory or defeat condition, another system retrieves the position of the FlagComponent and sends an RPC when it arrives in the correct extraction zone (while checking that the carrier is from the correct team).
public struct FlagComponent : IComponentData
{
    public Entity owner;
    public float3 position;
    public quaternion rotation;
    public bool isTake;
}

public struct FlagRPC : IRpcCommand
{
    public bool isTaken;
}
public struct FlagOwnerRPC : IRpcCommand
{
    public Entity flagOwner;
}

public struct FlagPositionRPC : IRpcCommand
{
    public Vector3 position;
    public quaternion rotation;
    public Entity oldOwner;
}


[WorldSystemFilter(WorldSystemFilterFlags.ServerSimulation)]
partial struct FlagSystem : ISystem
{

    public void OnCreate(ref SystemState state)
    {
        //Flag Creation
        EntityCommandBuffer ecb = new EntityCommandBuffer(Allocator.Temp);
        Entity flagEntity = ecb.CreateEntity();

        ecb.AddComponent(flagEntity, new FlagComponent
        {
            owner = Entity.Null,
            isTake = false
        });

        ecb.Playback(state.EntityManager);
        ecb.Dispose();

        state.RequireForUpdate<FlagComponent>();
    }

    public void OnUpdate(ref SystemState state)
    {
        if (SystemAPI.TryGetSingleton<FlagComponent>(out _))
        {
            EntityCommandBuffer ecb = new EntityCommandBuffer(Allocator.Temp);
            Entity flagEntity = SystemAPI.GetSingletonEntity<FlagComponent>();
            FlagComponent flagComponent = state.EntityManager.GetComponentData<FlagComponent>(flagEntity);


            foreach (var (flagRPC, rpcCommandRequest, entityRpc) in SystemAPI.Query<RefRO<FlagRPC>, RefRO<ReceiveRpcCommandRequest>>().WithEntityAccess())
            {
                if (flagComponent.isTake != flagRPC.ValueRO.isTaken)
                {
                    flagComponent.isTake = flagRPC.ValueRO.isTaken;

                    if (flagComponent.isTake)
                    {
                        // take flag
                        Entity rpcGetFlag = ecb.CreateEntity();

                        foreach (var (ghostOwner, player) in SystemAPI.Query<RefRO<GhostOwner>>().WithAll<PlayerSyncedData>().WithEntityAccess())
                        {
                            NetworkId playerTakerId = state.EntityManager.GetComponentData<NetworkId>(rpcCommandRequest.ValueRO.SourceConnection);

                            if (ghostOwner.ValueRO.NetworkId == playerTakerId.Value)
                            {
                                flagComponent.owner = player;
                                ecb.AddComponent(rpcGetFlag, new FlagOwnerRPC { flagOwner = player });
                            }
                        }

                        ecb.AddComponent(rpcGetFlag, new SendRpcCommandRequest());

                    }
                    else
                    {
                        //Drop flag
                        NetworkId playerCommand = state.EntityManager.GetComponentData<NetworkId>(rpcCommandRequest.ValueRO.SourceConnection);
                        GhostOwner flagOwner = state.EntityManager.GetComponentData<GhostOwner>(flagComponent.owner);

                        if (playerCommand.Value == flagOwner.NetworkId)
                        {
                            Entity rpcDropFlag = ecb.CreateEntity();

                            ecb.AddComponent(rpcDropFlag, new FlagPositionRPC
                            {
                                position = flagComponent.position,
                                rotation = flagComponent.rotation,
                            });

                            ecb.AddComponent(rpcDropFlag, new SendRpcCommandRequest());


                            flagComponent.owner = Entity.Null;
                        }
                        else
                        {
                            flagComponent.isTake = !flagRPC.ValueRO.isTaken;
                        }
                    }
                }

                SystemAPI.SetSingleton<FlagComponent>(flagComponent);
                ecb.DestroyEntity(entityRpc);
            }

            if (flagComponent.owner != Entity.Null && flagComponent.isTake)
            {
                LocalTransform playerTransform = state.EntityManager.GetComponentData<LocalTransform>(flagComponent.owner);

                flagComponent.position = playerTransform.Position;
                flagComponent.rotation = playerTransform.Rotation;
                SystemAPI.SetSingleton<FlagComponent>(flagComponent);
            }

            ecb.Playback(state.EntityManager);
            ecb.Dispose();
        }
    }
}